 |
| My chosen design. |
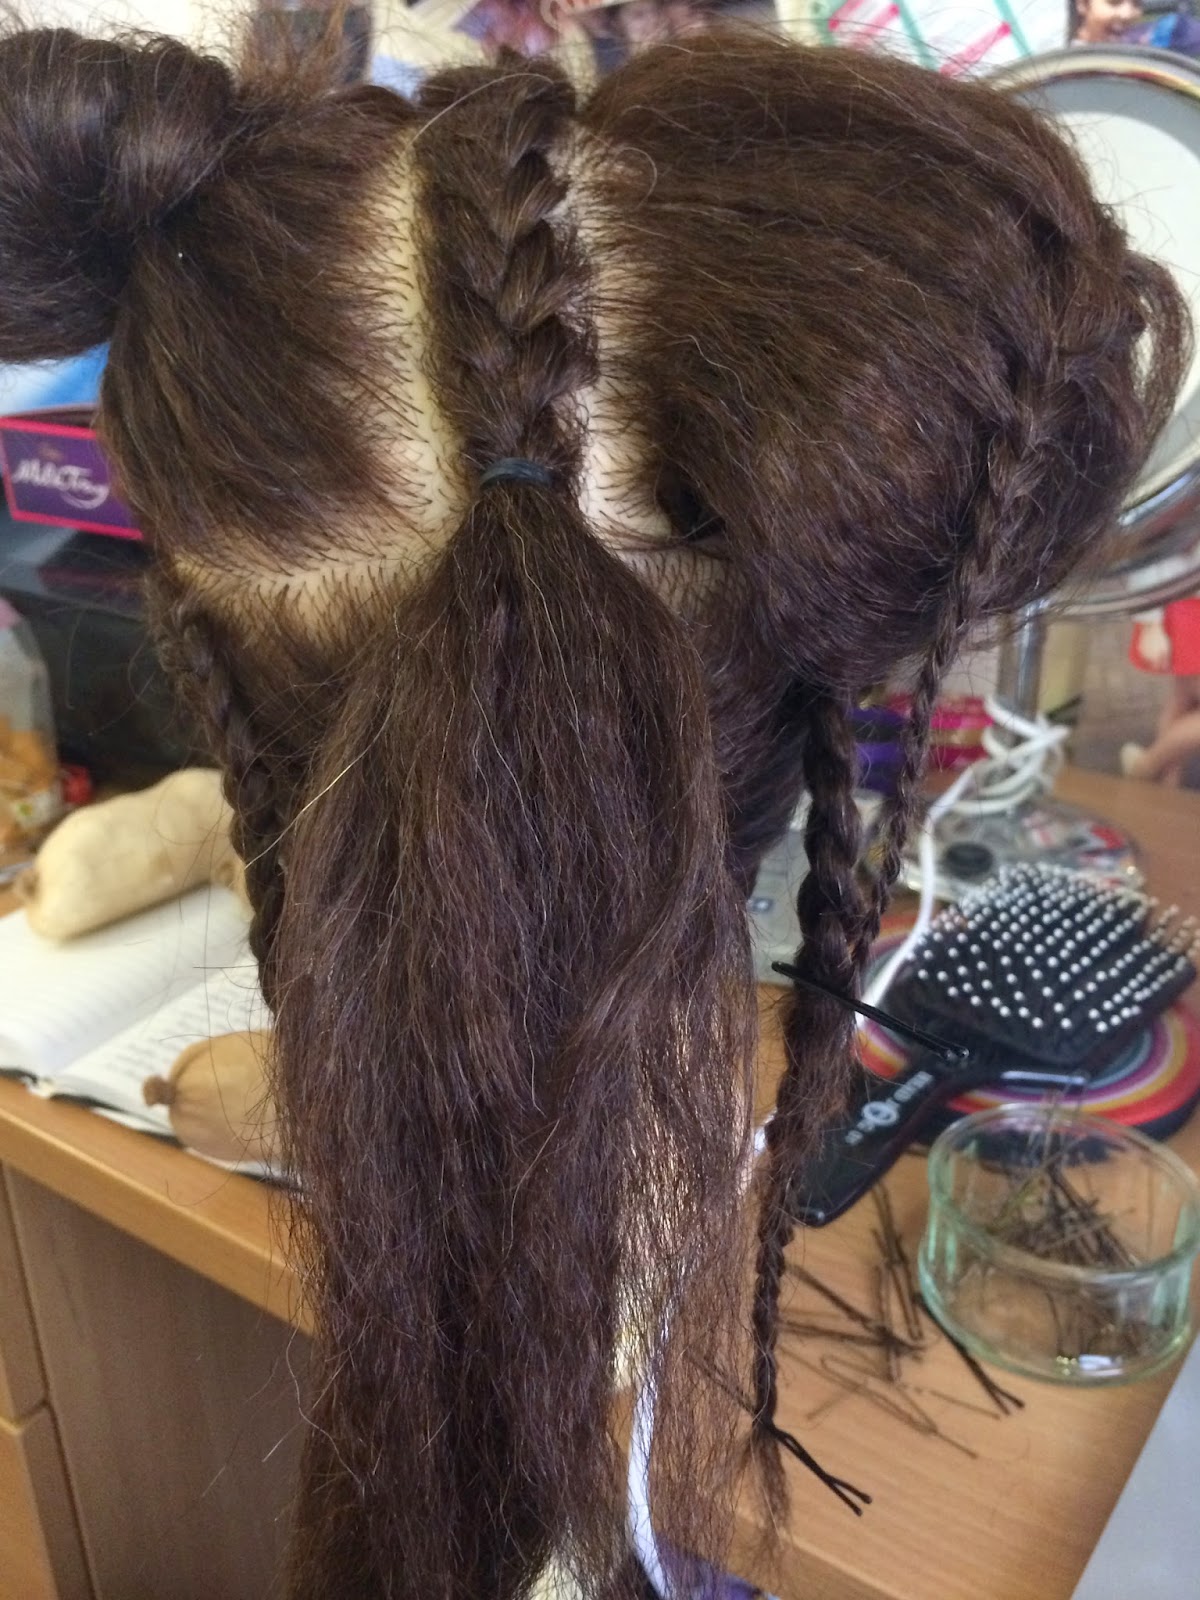
1. Section off the bottom part of the hair, starting at the ears and creating a hill shape, as shown in the image below, and put this section into a ponytail to keep out of the way.

2. Crimp all of the top section of hair with crimpers (unfortunately I didn't have a crimper at hand so I left the hair how it was, which was partly crimped anyway).
3. I next sectioned the top of the hair into 5 sections. The top, middle section needs to finish where the eyebrows start, and the very side sections need to be roughly the same width as the top section. The padding section needs to be bigger that these other sections. All these sections need to be taken back, all the way to the ponytail.
 |
| Back view. |
 |
| Top view. |
 |
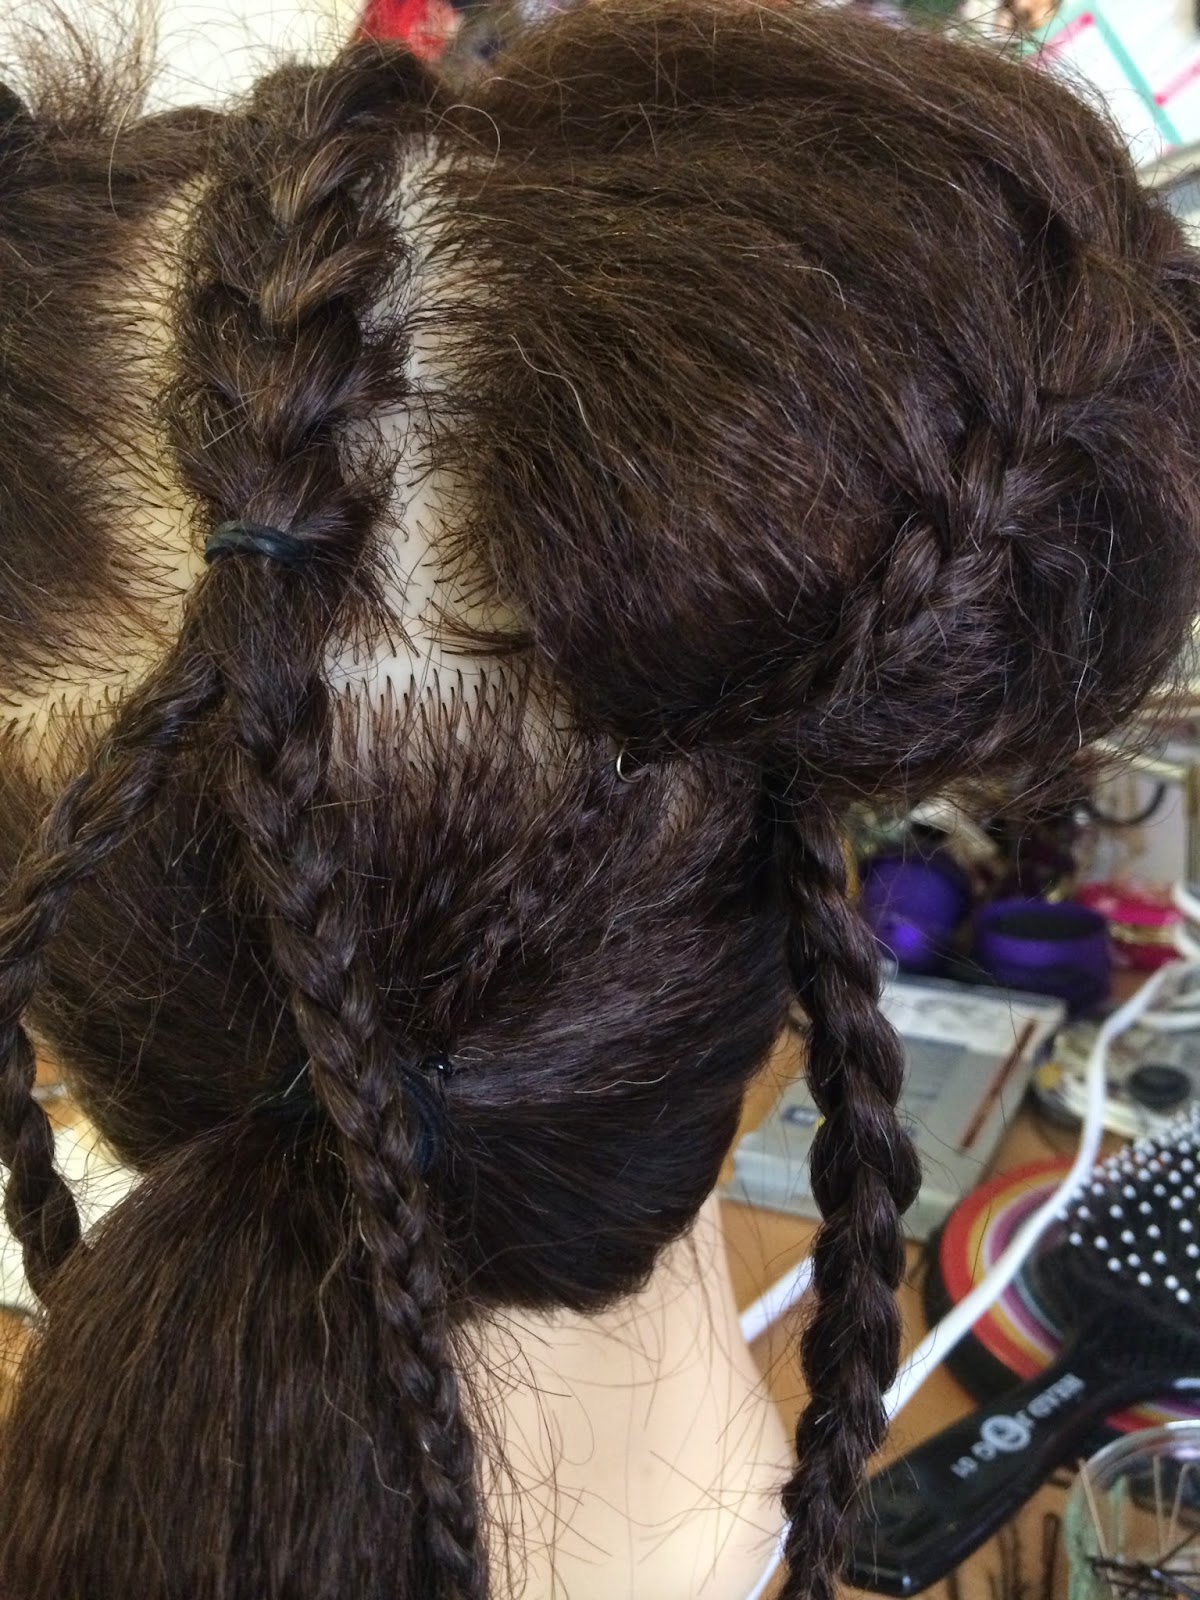
| Side view. |

5. Wrap the end of the french plait back on itself and secure it with some hair grips, then secure the padding on top of the french plaits with hair grips.

6. Then take a small line of hair from the bottom of the bottom section and the top of the top section and leave them out of the padding, for now. Also take a small strip of hair from the front of these sections by the forehead and leave that out of the padding too.

7. Take the bottom section and smooth it over the padding and secure with hair grips.
8. Then take the top section and smooth this section over the padding to hide as much of the padding as possible. Tuck the ends under and secure with hair grips.
 |
| Side view. |
 |
| Front view. |
 |
| Side view. |
 |
| Front view. |

11. French plait the middle section, flat against the head and then secure with a hair elastic before a regular plait is formed.
 |
| Top view. |
 |
| Back view. |

13. Secure the plait coming off the back of the padding against the end of the padding and against the head, with a hair grip. Wrap the rest of the plait under the ponytail and secure with a hair grip.
14. Separate the ponytail into two equal sections and twist them slightly. Wrap them round each other to create a tight twisted look.


16. Wrap the plaits from the middle french plait around the bun, going outwards, and secure the ends with hair grips into the bun.

17. Wrap the plaits from the very end plaits round the bun, going inwards, and secure the ends with hair grips.

The Final Look
 |
| Front view. |
 |
| Back view. |
I decided not to use ribbon in this design because I think it would just be too Elizabethan and also too technical for the time limit given. I want to give my look a modern twist, but without making it messier or less intricate. I may incorporate colour into my look so I will do some research into this.
Lessons learned/notes:
-Use darker coloured padding so that it blends in better with the dark hair colour.
-With the french plait over the padding, practice definitely makes perfect.
-Make sure you have lots of hair elastics!
-My hair is a lot longer and a lot thicker than the model's hair so the plaits and bun will be bigger.
-Make sure the hair around the padding is tight.
-Make sure both padding pieces are the same shape and size.
No comments:
Post a Comment